The seventh iteration in this series is no different either. There are a plethora of custom binaries that you could try out onto your device. These include the likes of replacing the device’s stock recovery with a custom one such as TWRP. Likewise, you could also flash a custom ROM to give your device a fresh outlook. Gaining administrative privileges and access to the system partition is also a possibility. This in turn could be carried out by rooting your device via Magisk (flashing Magisk App v22 or patching and flashing stock boot.img). But in spite of all the goodies attached, there’s always a risk of things not working out as expected. If you flash an incorrect binary or flash the correct file to the incorrect slot, then your device would end up in a soft-bricked or boot looped state. But if that ever happens, there’s always an easy escape route. And this guide shall make you aware of just that. Given here are the detailed instructions to unbrick Moto G7 and G7 Plus devices via Fastboot Commands. Follow along.
How to Unbrick Moto G7/ G7 Plus via Fastboot Commands
The below instructions are listed under separate sections for ease of understanding. Make sure to follow in the exact same sequence as mentioned below. Droidwin and its members wouldn’t be held responsible in case of a thermonuclear war, your alarm doesn’t wake you up, or if anything happens to your device and data by performing the below steps.
Enable USB Debugging and OEM Unlocking
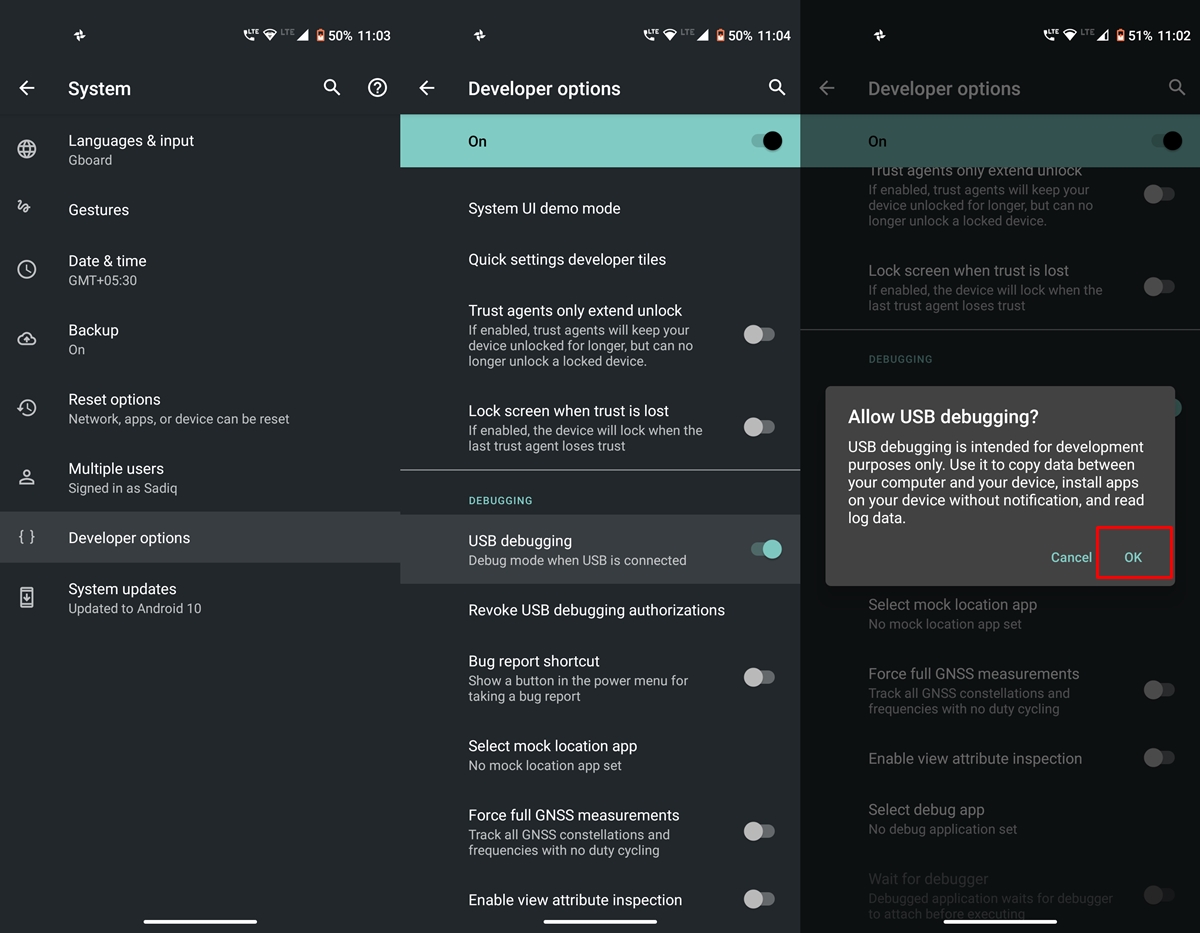
To begin with, you will have to enable USB Debugging and OEM Unlocking on your device. If your device is in a bootloop or soft brick, then you wouldn’t be able to carry out these steps, so skip them and move over to the next step. However, if your device is working and you are trying to manually flash the firmware via Fastboot, then you need to enable both these options.
So head over to Settings > About Phone > Tap on Build Number 7 times > Go back to Settings > System > Advanced > Developer Options > Enable USB Debugging and OEM Unlocking.
Unlock Bootloader on Moto G7
Next up, you will have to unlock the bootloader on your Moto G7/G7 Plus to unbrick it via Fastboot Commands. Since we are flashing IMG files to their respective partitions, unlocking is a must. However, doing so will wipe off all the data and might make the warranty null and void. So keep these points in mind and then refer to our guide to Unlock Bootloader on any Motorola Device.
Install Android SDK
You will also have to install the Android SDK Platform Tools on your PC. These are the official ADB and Fastboot binaries provided by Google. So download it and then extract it to any convenient location on your PC. Doing so will give you the platform-tools folder, which we will be using throughout this guide.
Download Moto G7/G7 Plus Stock Firmware
Now download the stock firmware for your Moto G7/G7 Plus device. Make sure to download the one that corresponds to your region only.
Stock Firmware Collections: Moto G7 [River] | Moto G7 Plus [Lake]
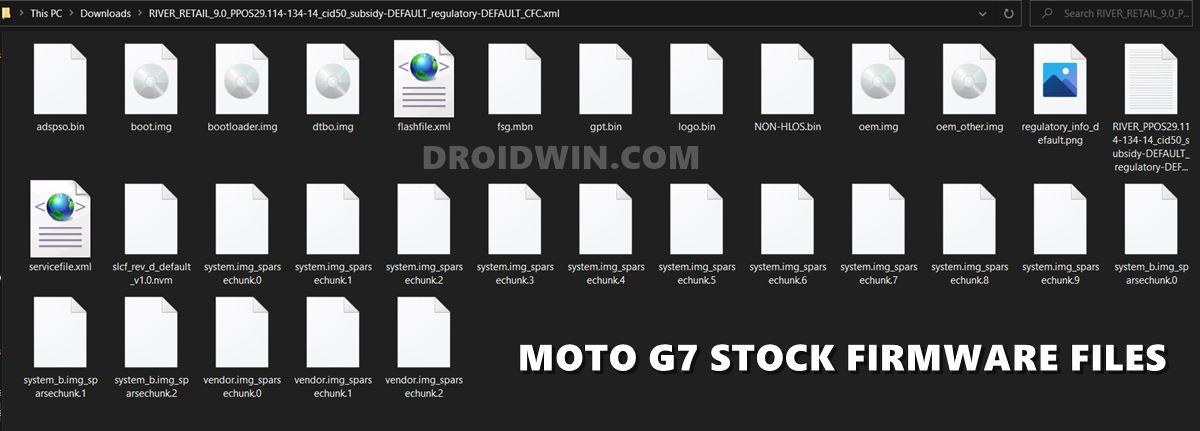
Once downloaded, extract it inside the platform-tools folder. You will get the following firmware files, as shown in the below sections:
Moto G7 Firmware Files
Here are all the Moto G7 Firmware files that you would get upon extracting. As for this guide, I have downloaded the Android 10 Firmware for Moto G7 belonging to RETIN India. Here’s the complete name of the same: XT1962-6_RIVER_RETIN_10_QPUS30.52-16-2-7-7_cid50_subsidy-DEFAULT_regulatory-XT1962-6-INDIA_CFC.
Moto G7 Plus Firmware Files
Likewise, you will get the following files after extracting the G7 Plus Firmware. I have used the RETAIL build based on Android 10. The complete firmware name is RETAIL/LAKE_RETAIL_10_QPWS30.61-21-18-5_subsidy-DEFAULT_regulatory-DEFAULT_CFC.
Boot Moto G7/G7 Plus to Fastboot Mode
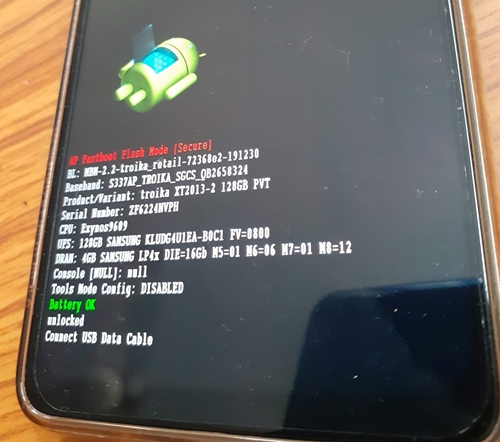
You will now have to boot your Moto G7/G7 Plus to Fastboot Mode so that you could flash firmware via Fastboot Commands and unbrick it. If you are able to access your device and are just looking to manually flash the firmware, then use the below steps to boot your device to Fastboot. However, if your device is in a bootloop or soft-bricked, then you will have to use the device-specific hardware key combinations to boot your device to Fastboot.
Flash Moto G7 Stock Firmware via Fastboot Commands
Just copy-paste the below fastboot command on the CMD window that you have opened in the platform-tools folder. Make sure to execute one command at a time, rather than copy-pasting and executing all the commands at one go. Also copy paste these commands in the exact same order as mentioned. The below commands are for Moto G7 codenamed River and should not be used on any other device. [Moto G7 Plus Commands are in the next section]
Flash Moto G7 Plus Stock Firmware via Fastboot Commands
Copy-paste the below commands in the CMD window that you have opened in the platform-tools folder. The below commands are for Moto G7 Plus codenamed Lake and should not be used on any other device. So this was all from this guide on how to unbrick Moto G7 and G7 Plus via Fastboot Commands. If you have any queries concerning the aforementioned steps, do let us know in the comments. We will get back to you with a solution at the earliest.
About Chief Editor


