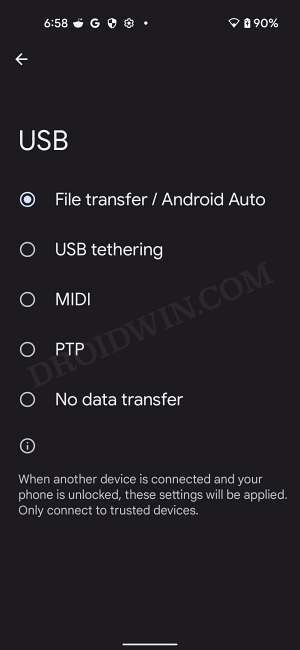
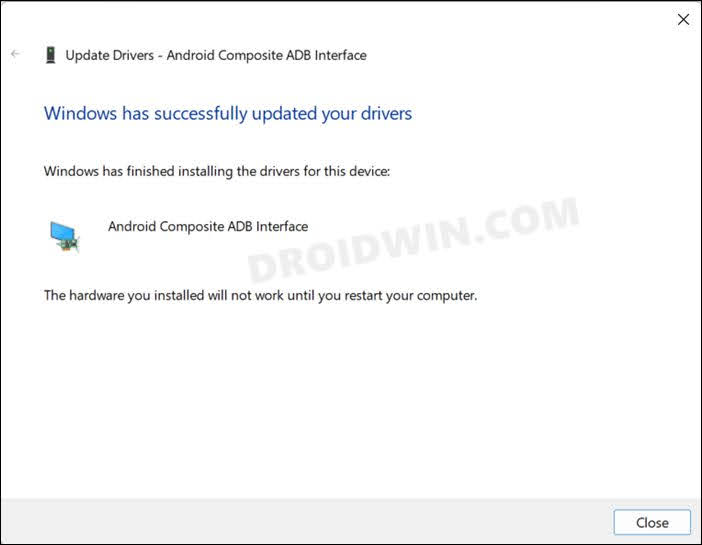
However, you wouldn’t be able to carry out any of the aforementioned tweaks simply by connecting your device to your PC via a USB cable. This is because your PC wouldn’t be able to identify the connected device in the first place. So what else could be done? Well, you will have to first install the Google USB Drivers on your PC so that a successful connection between the PC and your Pixel device gets established. So without further ado, let’s check out how this could be done.
How to Install Google USB Drivers for Pixel Devices
That’s it. These were the steps to install the Google USB Drivers for your Pixel Device. If you have any queries concerning the aforementioned steps, do let us know in the comments. We will get back to you with a solution at the earliest.
How to Install Fastboot Drivers in Windows 11How to Install Google’s Android Bootloader Interface DriversFix Waiting for Device Error in ADB or Fastboot CommandsHow to Check and Install Missing Drivers in Windows 11
Fix: Cannot Install Google USB Drivers on Windows 11/10
There have been many instances wherein a user is unable to install the Google USB Drivers on their PC running Windows 11/10. If you are among them as well, then fret not. Just try out the below-listed workarounds and one of them would rectify this issue.
FIX 1: Use USB 2.0 Port
First off, it is recommended that you use the official USB cable that came with your device. Moreover, you should use the USB 2.0 port on your PC and not the USB 3.0 Port.
FIX 2: Use USB Type C to Type A
Next up, consider using a USB Type C to Type A cable instead of a Type C to Type C cable.
FIX 3: Reinstall USB Drivers
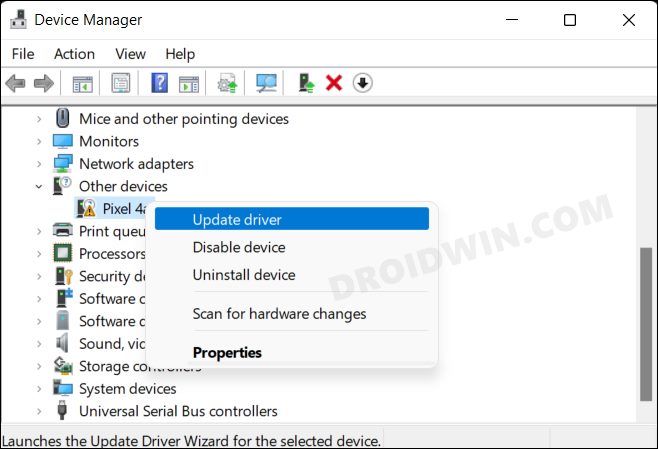
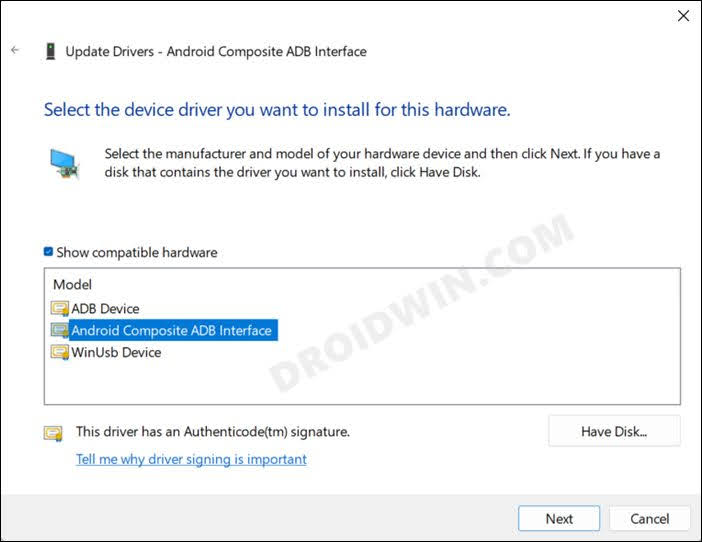
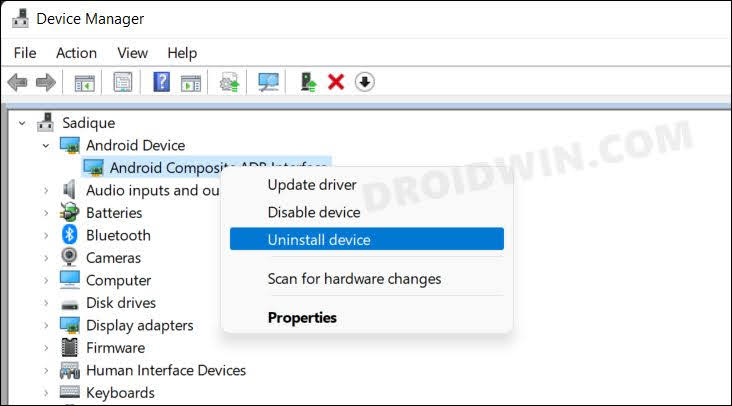
If you have previously connected another Android device to your PC, then its driver might conflict with your Pixel device. So you should first remove those drivers and then install the drivers corresponding to your Pixel device. Here’s how it could be done:
About Chief Editor
