So if you are among those tech enthusiasts who like to try out numerous ROMs, then you might be aware that directly flashing a custom ROM over another is never a great idea [in some cases, even a factory reset might not work]. Moroever, the lack of custom recovery support from Android 12 onwards only makes the matter worse. All in all, before you move over to the next custom ROM on your OnePlus device, you should first go back to the stock OxygenOS ROM and then flash the desired ROM. While this might prove to be a slight length process but it is the most fail-safe and risk-free approach. So keeping this in mind, this guide will show you two different methods of getting this job done. Follow along.
How to Flash Stock ROM OxygenOS over Custom ROM in OnePlus
You could carry out this task either via MSM Download Tool or via the Fastboot Enhance Tool. Both these methods have their fair share of benefits and drawbacks. If we talk about MSM Tool, then it is sure to give out a successful result, but to make that happen, you will have to carry out a long list of prerequisites. On the other hand, if we talk about Fastboot Enhance Tool, then it will get the job done in just a couple of clicks. However, this tool was only designed for OnePlus 8T, however, I have personally tested it on OnePlus 7T and 10 Pro and it works well and good, but apart from those devices, the results are yet to be ascertained. So MSM Tool is the recommended approach and only opt for the Fastboot Tool if the former doesn’t work under any circumstances. With that said, both these methods will wipe off all the data from your device, so take a complete device backup beforehand. Droidwin and its members wouldn’t be held responsible in case of a thermonuclear war, your alarm doesn’t wake you up, or if anything happens to your device and data by performing the below steps.
Using MSM Download Tool
STEP 1: Install Android SDK
First and foremost, you will have to install the Android SDK Platform Tools on your PC. This is the official ADB and Fastboot binary provided by Google and is the only recommended one. So download it and then extract it to any convenient location on your PC. Doing so will give you the platform tools folder, which will be used throughout this guide.
STEP 2: Install Qualcomm USB Drivers
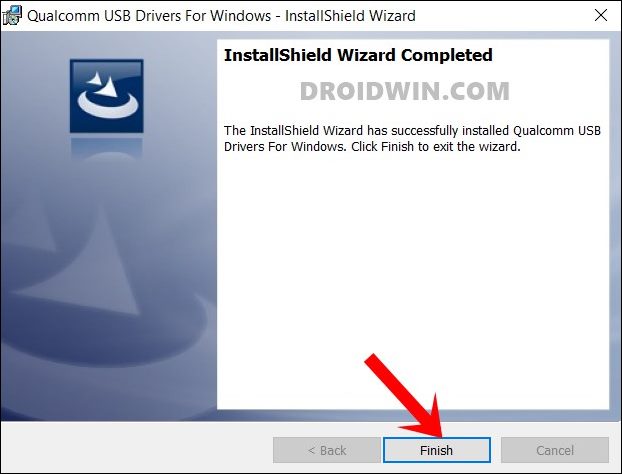
Next up, you will have to download and install the Qualcomm USB Drivers. This is needed so that your PC (and the MSM Tool) is able to identify the connected device in EDL Mode. So refer to our guide on Qualcomm HS-USB QDLoader 9008 Drivers: Download & Install
STEP 3: Download MSM Download Tool
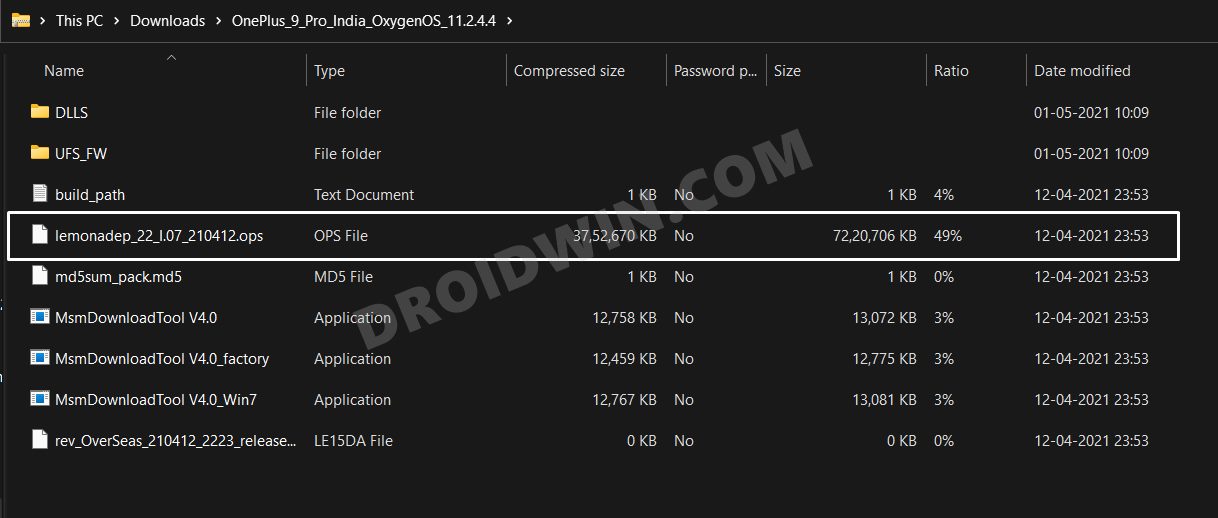
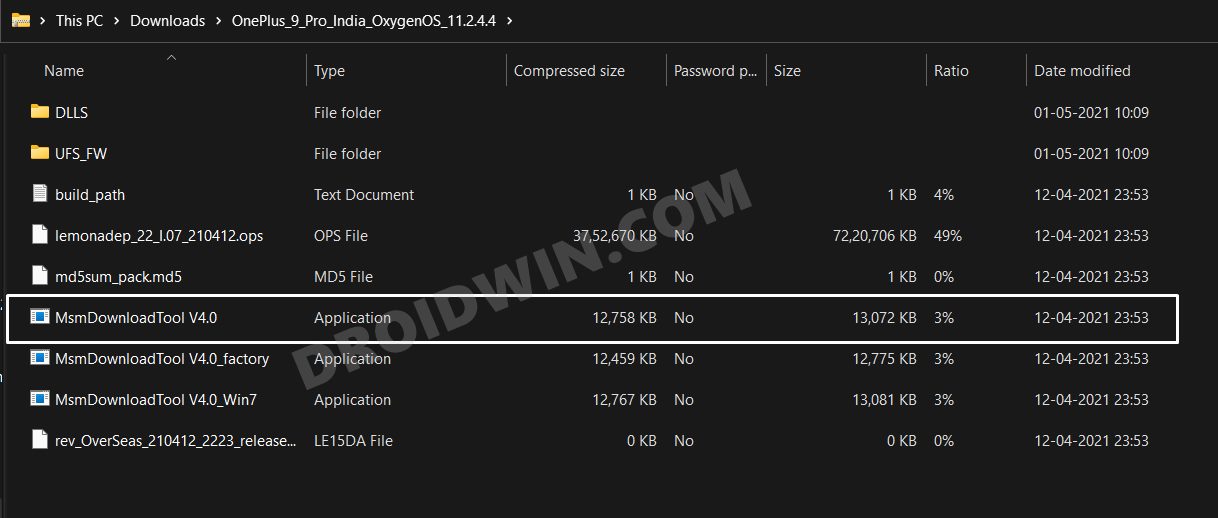
Now get hold of the MSM Download Tool corresponding to your OnePlus device from this post. Once downloaded, extract it to any convenient location on your PC. This will give you the Tool as well as the OPS Firmware for your device. NOTE: For many OnePlus devices, the latest MSM Tool available will be based on Android 11. That’s not an issue. Even if you are currently running Android 13 custom ROM, you could easily flash the stock Android 11 and then install the Android 12 update [if required] via the OTA.
STEP 4: Boot OnePlus to EDL Mode
You will now have to boot your OnePlus device to Emergency download mode. For that, please refer to our comprehensive tutorial on How to Boot any OnePlus Device to EDL Mode. Or you could also refer to the below shorter instructions.
Via ADB Commands
If you could access the OS, then use the below steps to boot your device to EDL Mode
Via Hardware Key Combinations
If you cannot access the OS, then use the below steps to boot your device to EDL Mode: If your device is still being shown as QHUSB_BULK, then reverify driver installation, use USB 2.0 Port, or try using a different USB cable. Any one of these tweaks could fix the EDL connection error.
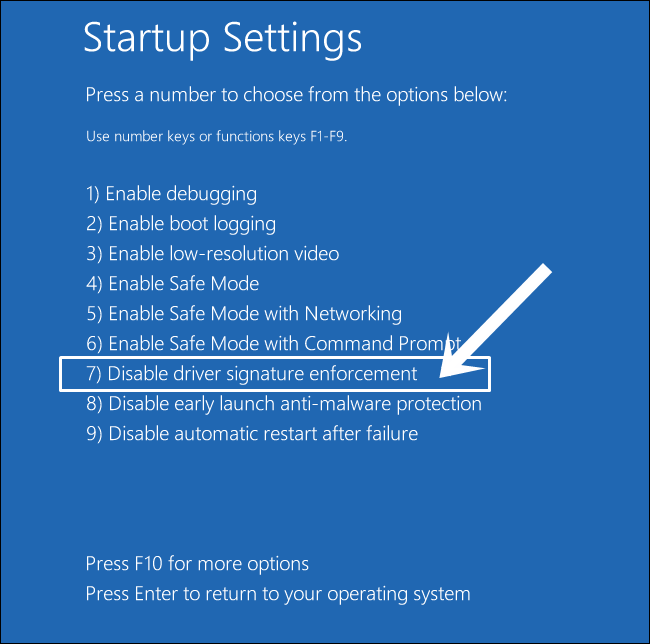
STEP 5: Disable Driver Signature Verification
You will now have to disable the driver signature verification on your Windows PC so that Windows doesn’t conflict with the Qualcomm drivers as well as the EDL Mode. So refer to our guide on How to Disable Driver Signature Verification on Windows 10/11. [Make sure that your phone remains connected to your PC in EDL Mode during the entire process].
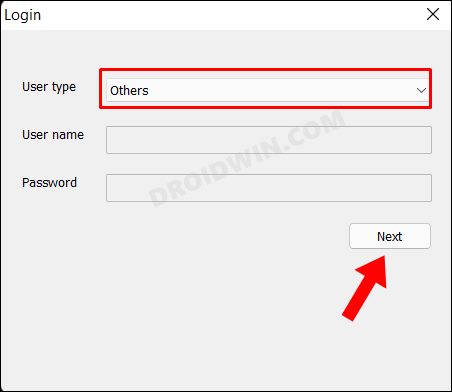
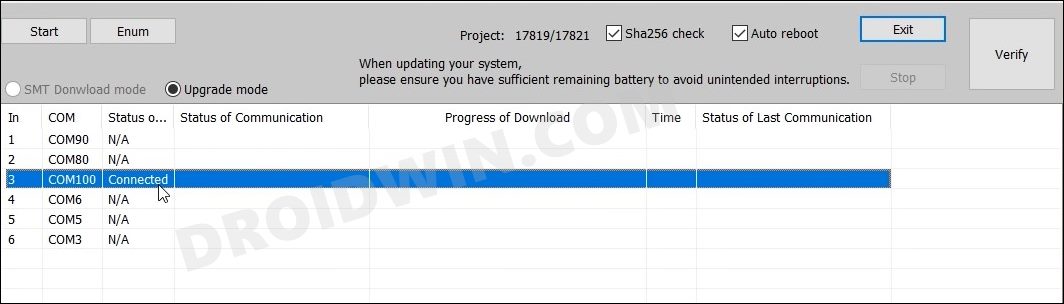
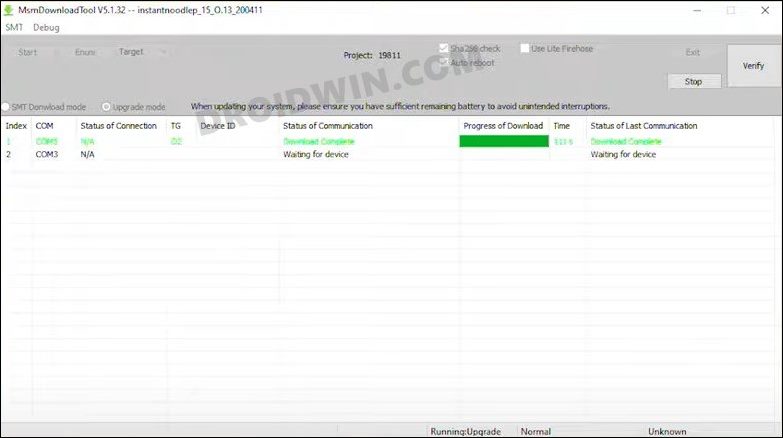
STEP 6: Flash Stock OxygenOS on OnePlus via MSM Download Tool
That’s it. These were the steps to go back to stock ROM by flashing OxygenOS over a custom ROM on OnePlus using the MSM Download Tool. let’s now show you how this could be done using the Fastboot Enhance Tool.
Using Fastboot Enhance Tool
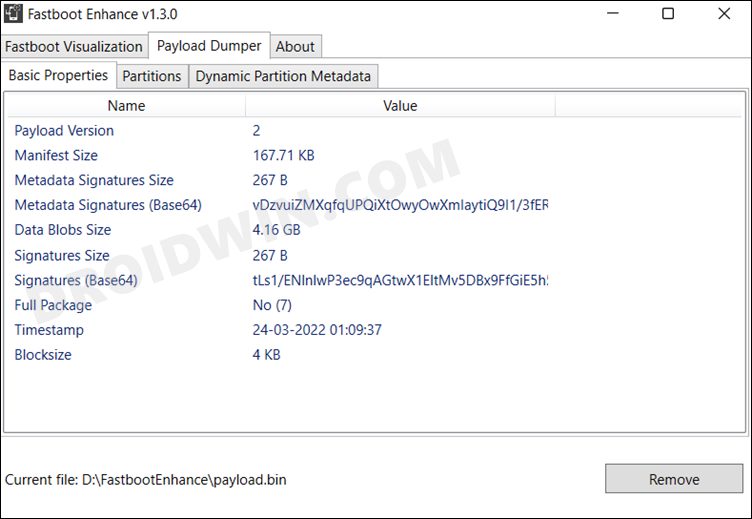
This is a tool created by XDA Senior Member xzr467706992 and beholds a slew of intriguing features, including the ability to directly flash the payload.bin file, without the need to even manually extract it first. Do note that even though this tool was created for OnePlus 8T, however, I have personally tested it on OnePlus 7T and it works well and good [but still, could prove to be a risky bet if you try it out on any other device except for the 8T].
STEP 1: Download Fastboot Enhance Tool
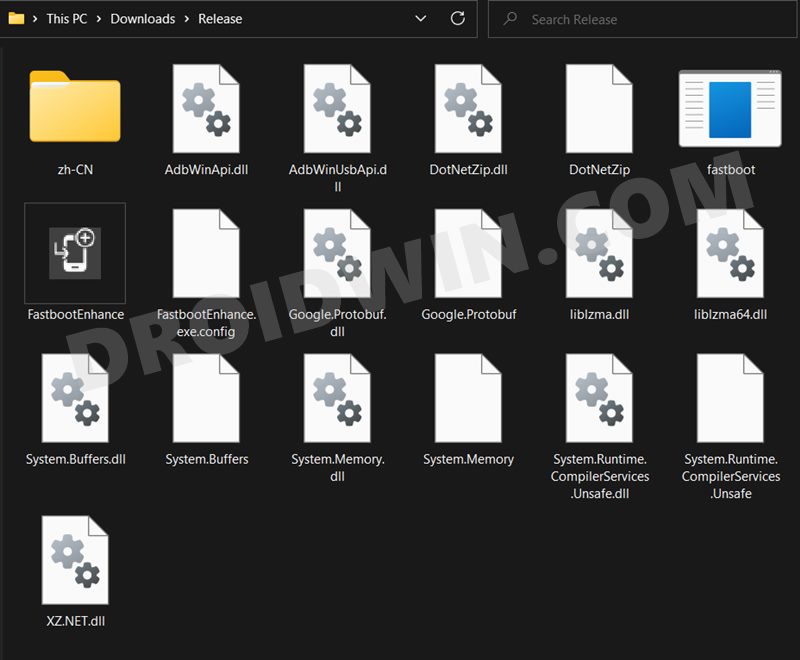
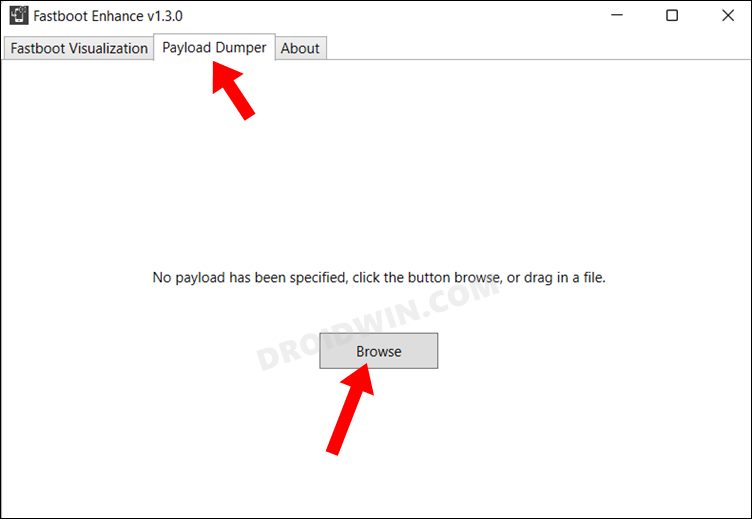
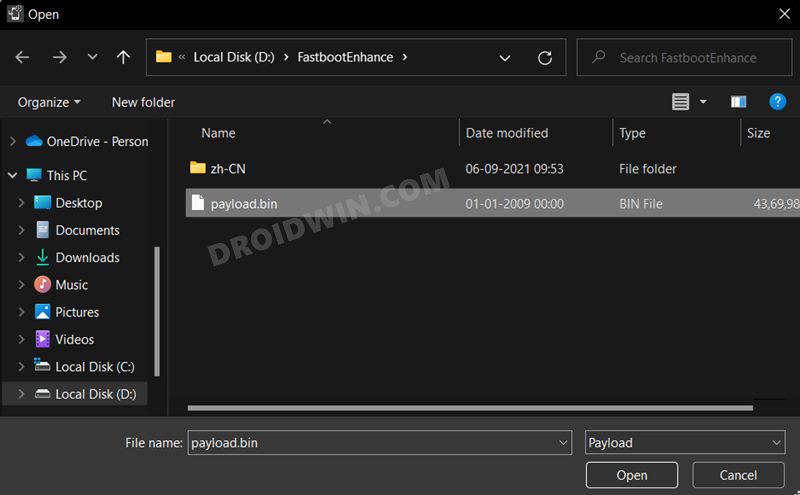
Download the Fastboot Enhance Tool from GitHub [direct link]. Once downloaded, extract it to any convenient location on your PC. The biggest advantage of this tool is that you could directory flash the payload.bin file, there is no need to extract it and get the resultant IMG files!
STEP 2: Download OnePlus Stock ROM
STEP 3: Install Android SDK
Next up, install the Android SDK Platform Tools on your PC. This is the official ADB and Fastboot binary provided by Google and is the only recommended one. So download it and then extract it to any convenient location on your PC. Doing so will give you the platform tools folder, which will be used throughout this guide.
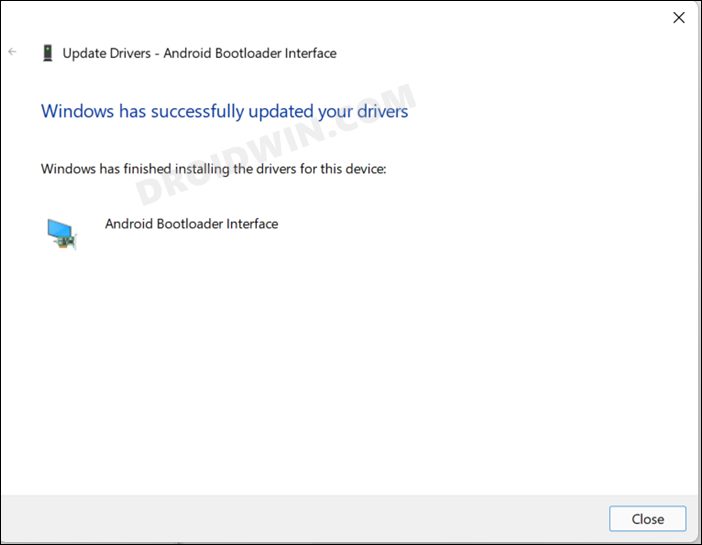
STEP 4: Install Fastboot Drivers
The tool doesn’t come with the Fastboot Drivers, so you will manually have to install it on your PC. For that, please refer to our guide on How to Install Fastboot Drivers in Windows 11. Likewise, make sure to install the OnePlus USB Drivers as well [they are usually automatically installed as soon as you connect your device to the Windows PC for the first time].
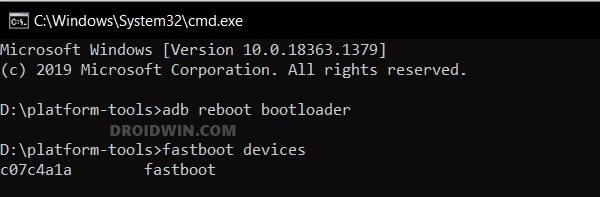
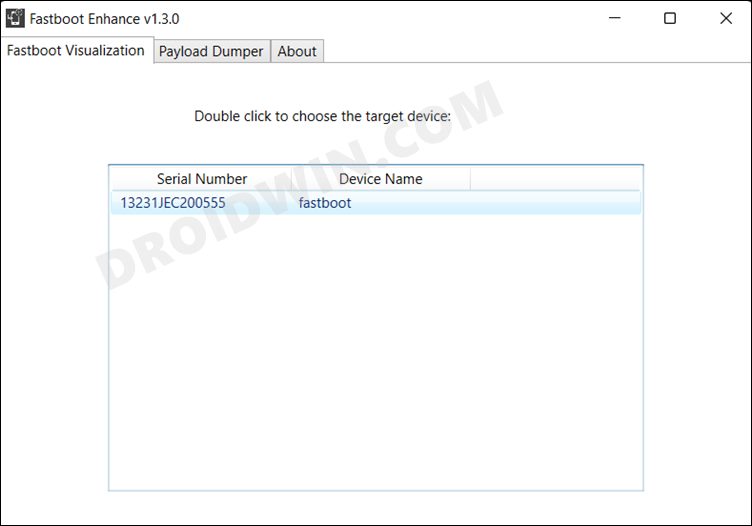
STEP 5: Boot to Fastboot Mode
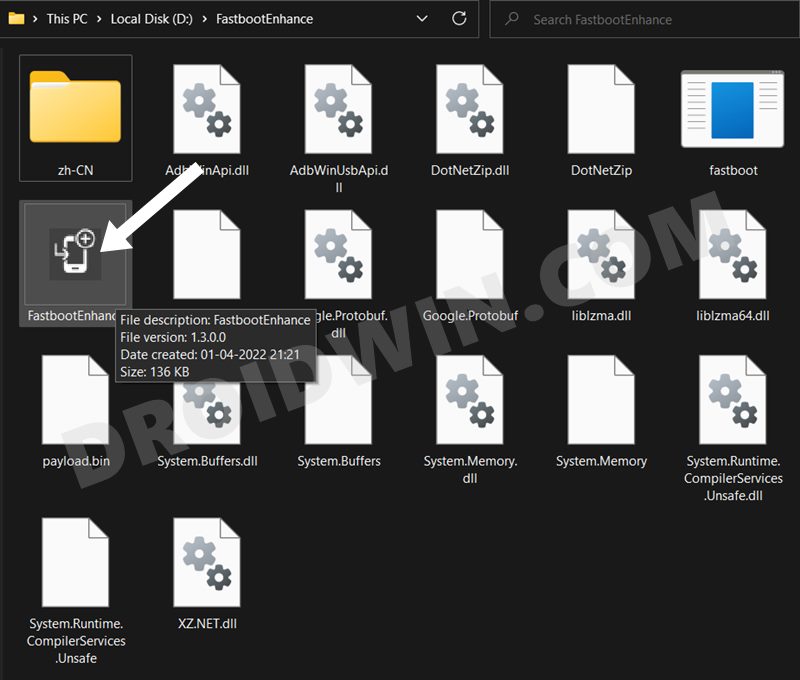
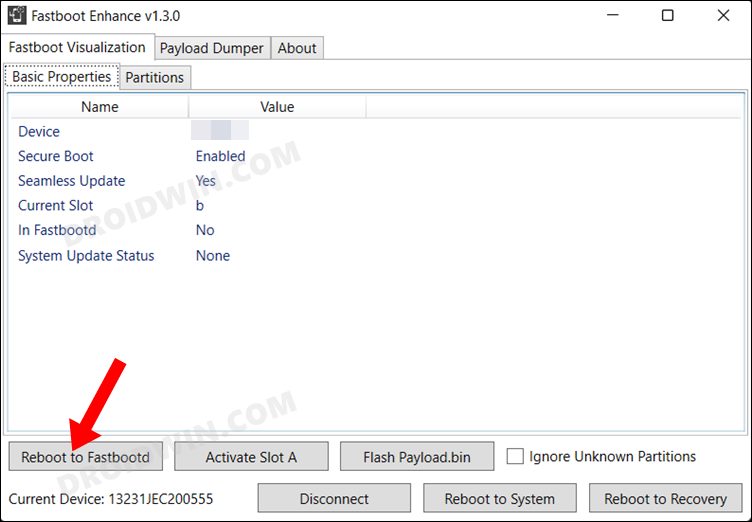
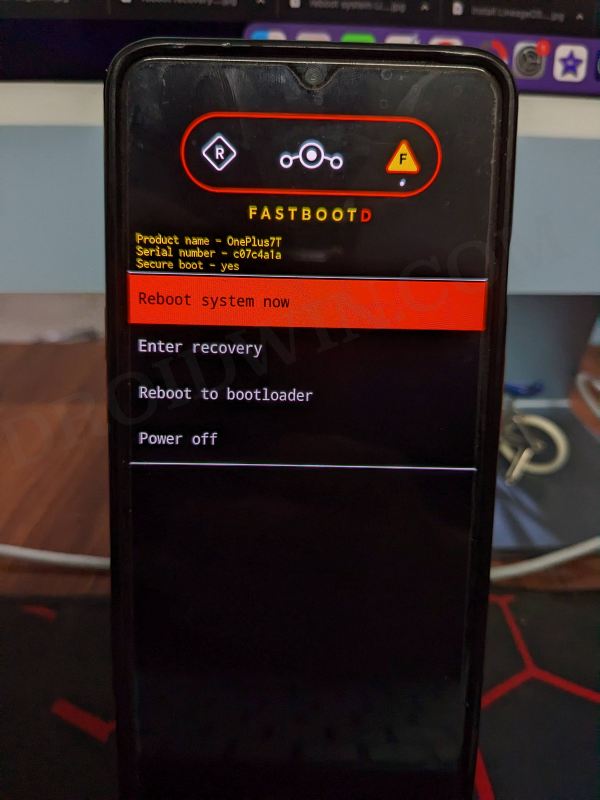
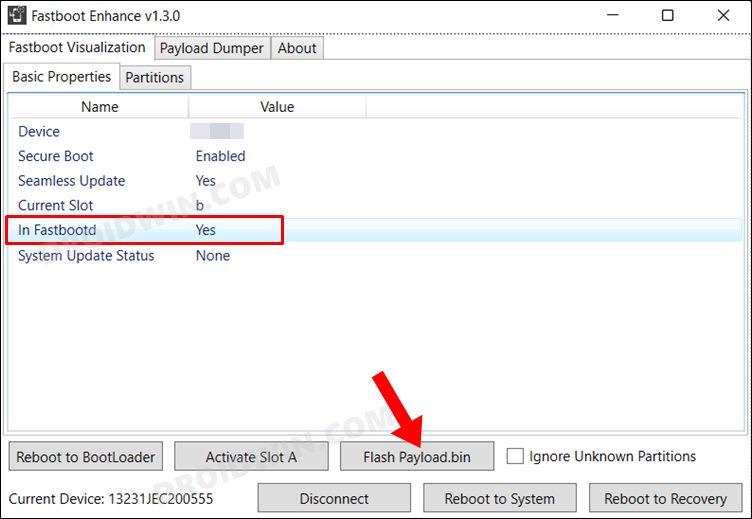
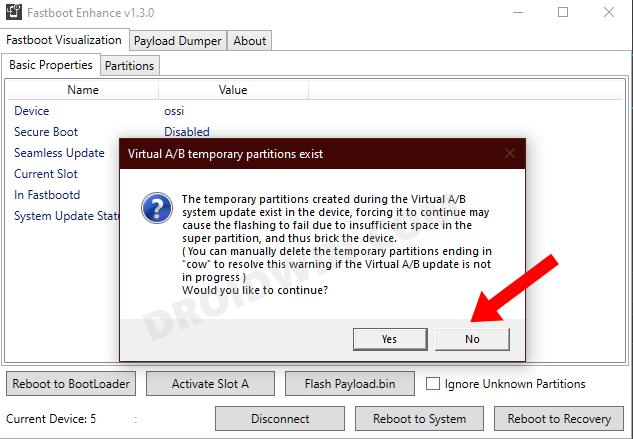
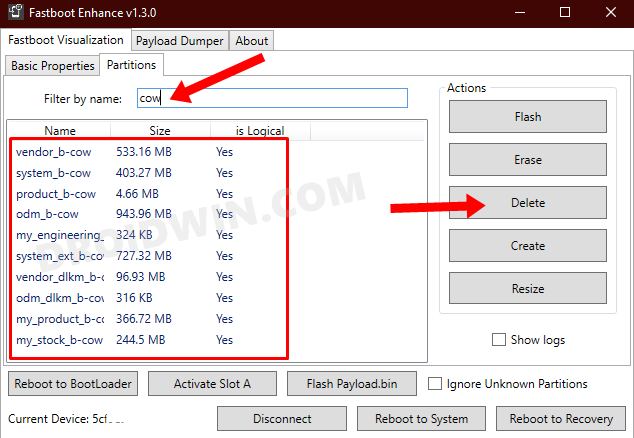
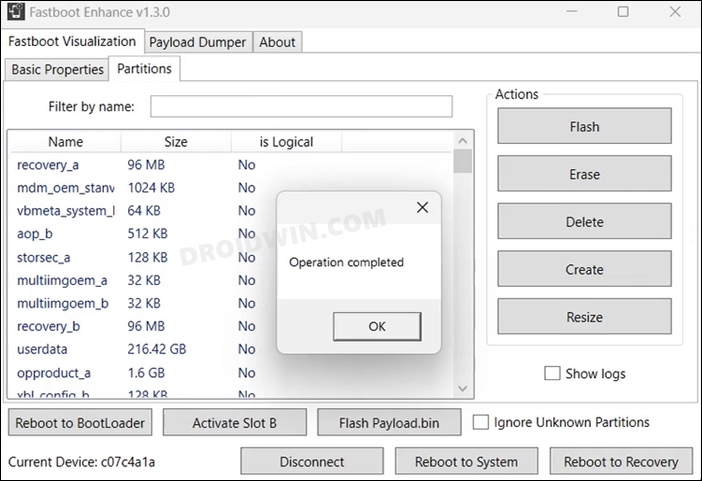
STEP 6: Flash Stock Firmware on OnePlus via Fastboot
That’s it. These were the two different methods to go back to stock ROM by flashing the OxygenOS over a custom ROM on OnePlus. If you have any queries concerning the aforementioned steps, do let us know in the comments. We will get back to you with a solution at the earliest.
How to Enable VoLTE and VoWiFi on any OnePlus DeviceHow to Enable Call Recorder on any OnePlus DeviceEnable and Use ADB Commands in OnePlus Stock RecoveryHow to Enable Factory Mode in any OnePlus Device
About Chief Editor